For many restaurants, the short period after the holidays and before Valentine’s Day is a notoriously slow period as customers come back from vacations and ease into the daily grind. For many of you, it’s known as the best time to tackle the behemoth of your back of house—the walk-in cooler.
Giving your walk-in a thorough clean can help you reduce costs around food waste and energy consumption. So what are you waiting for? Let’s roll up those sleeves and get started.
Step 1. Clean
Let’s get dirty. You’ve *hopefully* been on top of your cleaning regimen all year, mopping below your shelving, wiping down spills etc., and that should make this easier. But food, dirt and other particles still make their way into the smallest cracks, so best to take this opportunity to clear off those shelves and give themselves a good, thorough cleaning.
You may also consider pulling the shelves away from the wall (hopefully they’re on casters!) to really scrub those back corners from the day-to-day grime that easily gets trapped there. I realize you’ve probably heard this before, but for the sake of the safety of your guests and your next health inspection—clean!
Step 2. Upgrade
Since you’re taking apart everything anyway, it might be time to upgrade that shelving too. When you first opened your restaurant, you may have just purchased the cheapest option on the market—wire shelving. While chrome-plated wire shelving is a great value for what it is, it isn’t designed for humid environments and can bend or warp when loaded beyond its weight capacity (usually about 150 pounds).
A slightly pricier option is epoxy-coated wire shelving, which is an option for wet environments, but if you really want the best available on the market consider your plastic or polymer options. Not only is plastic shelving extremely durable (Camshelving® can hold as much as 600 to 3200 pounds depending on the series), but the shelves themselves are dishwasher safe to make cleaning a breeze. You’ll also love the interchangeable features that some plastic shelving offers, such as choices between solid/vented shelves, integrated dunnage racks and much more.
For all shelving units, ensure that your bottom shelf is at least 6 inches from the floor or more to ease cleaning beneath your shelving; failure to do this could hurt you in your next inspection.
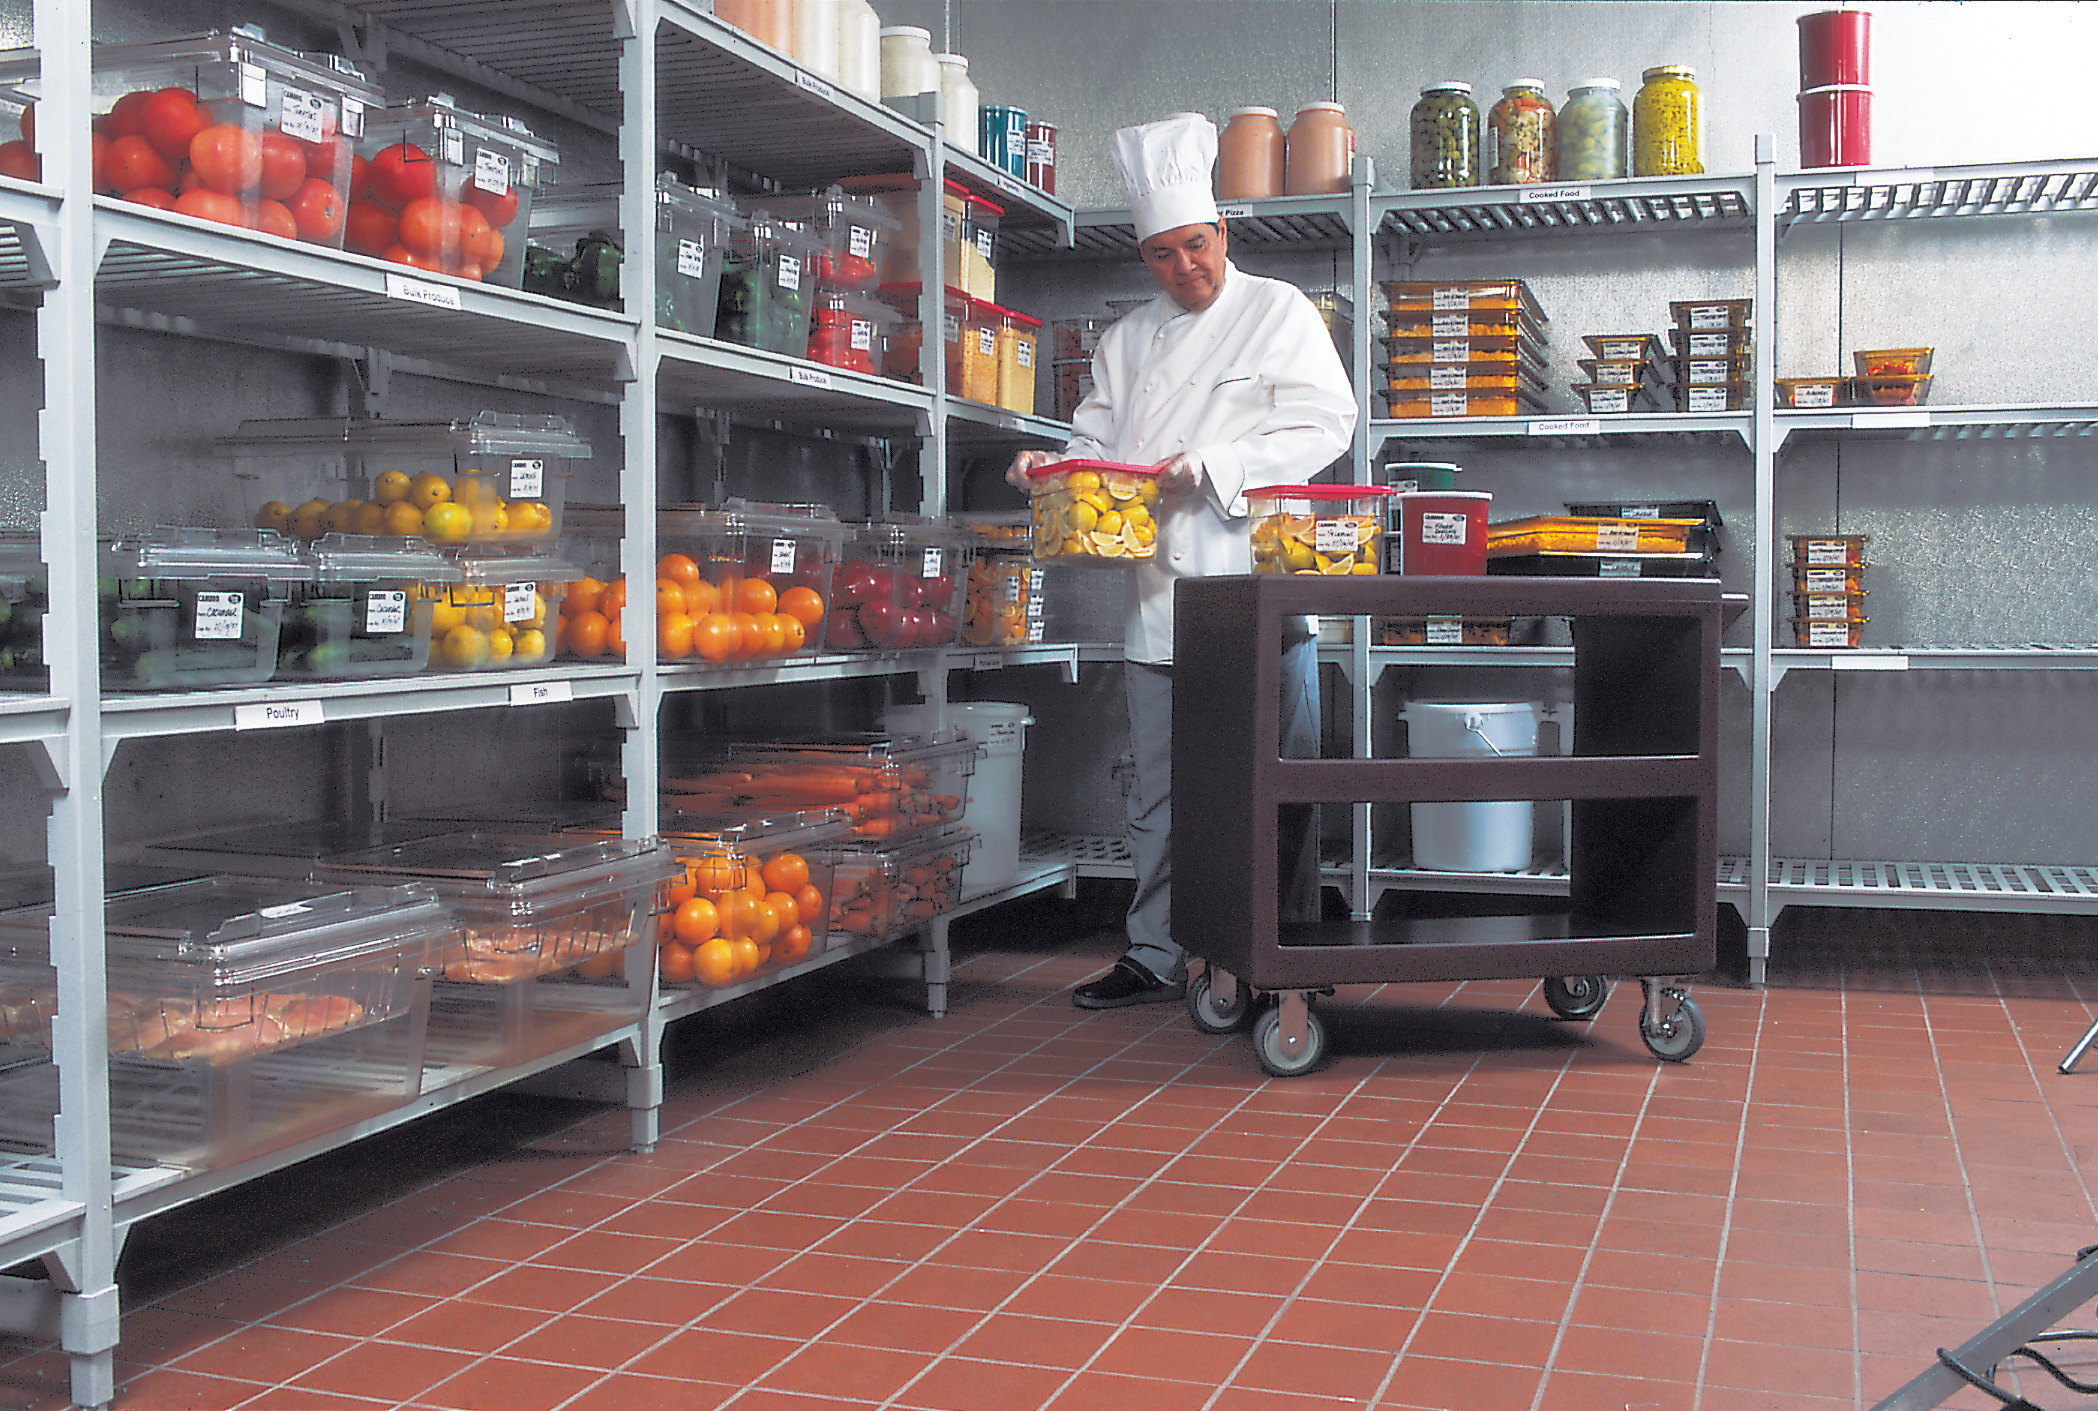
Step 3. Organize
Organization is easier when everything is off the shelves, so take this time to seriously consider the layout of your walk-in cooler and pantry. A good place to start is by following proper health and sanitation practices. Storing raw meat and poultry on lower shelves to reduce the risk of cross-contamination and keep cooked and ready-to-eat foods on higher racks. Be aware that every walk-in cooler also experiences temperature variations; typically the area closest to the door is warmer (due to the opening and closing of the door) while the rear of your unit is cooler. Meats, fish, dairy, etc. should be stored towards the back of your cooler while produce can be kept closer to the front.
Not only does organization help avoid cross-contamination, but it can also help you reduce your food waste. Stacking containers too close together or too high can block your equipment’s circulation fans, and when air doesn’t circulate it does a pretty crummy job at keeping product at the proper food safe temperatures. Plus, what else happens when your equipment struggles to maintain temperature? It makes your equipment work harder, and equipment that works harder generally equates to a shorter lifespan and a pricey replacement.
Finally, don’t underestimate the importance of day labels either! Accurately label all product that enters your storage area so that cooks know what product should be moved out first. When you rotate stock more effectively you decrease your shrinkage of perishables and reduce the amount you need to store.