


I first came across preserved lemons on a trip to NYC back in 2012. A seemingly ordinary pasta dish suddenly became extraordinary with the addition of one simple ingredient. There was a slight citrus in the dish, but not overpowering; it was soft and subtle, and its aroma rivaled that of my favorite garlic.
Preserved lemons have practical and humble origins. Used heavily in Moroccan and Middle Eastern cooking, preserving lemons was an affordable way to use them long after the season ended. Though making them is easy enough, it’s time you’ll need. Preserved lemons need a good 3-4 weeks (but can sit longer) to cure. But once set, these babies will last you awhile.
What you’ll need:
- Clean mason jars – either one large jar, or use the mini jars so you can keep a rotation going (also make great last-minute gifts!)
- Lemons – I like to use whatever is in season, but Meyer lemons will be slightly sweeter
- Salt – Canning salt (this is ideal for preserving because the salt is fine and doesn’t have any additives. Kosher salt is also a good alternative)
Step 1. Wash
Give your lemons a good, light scrub.


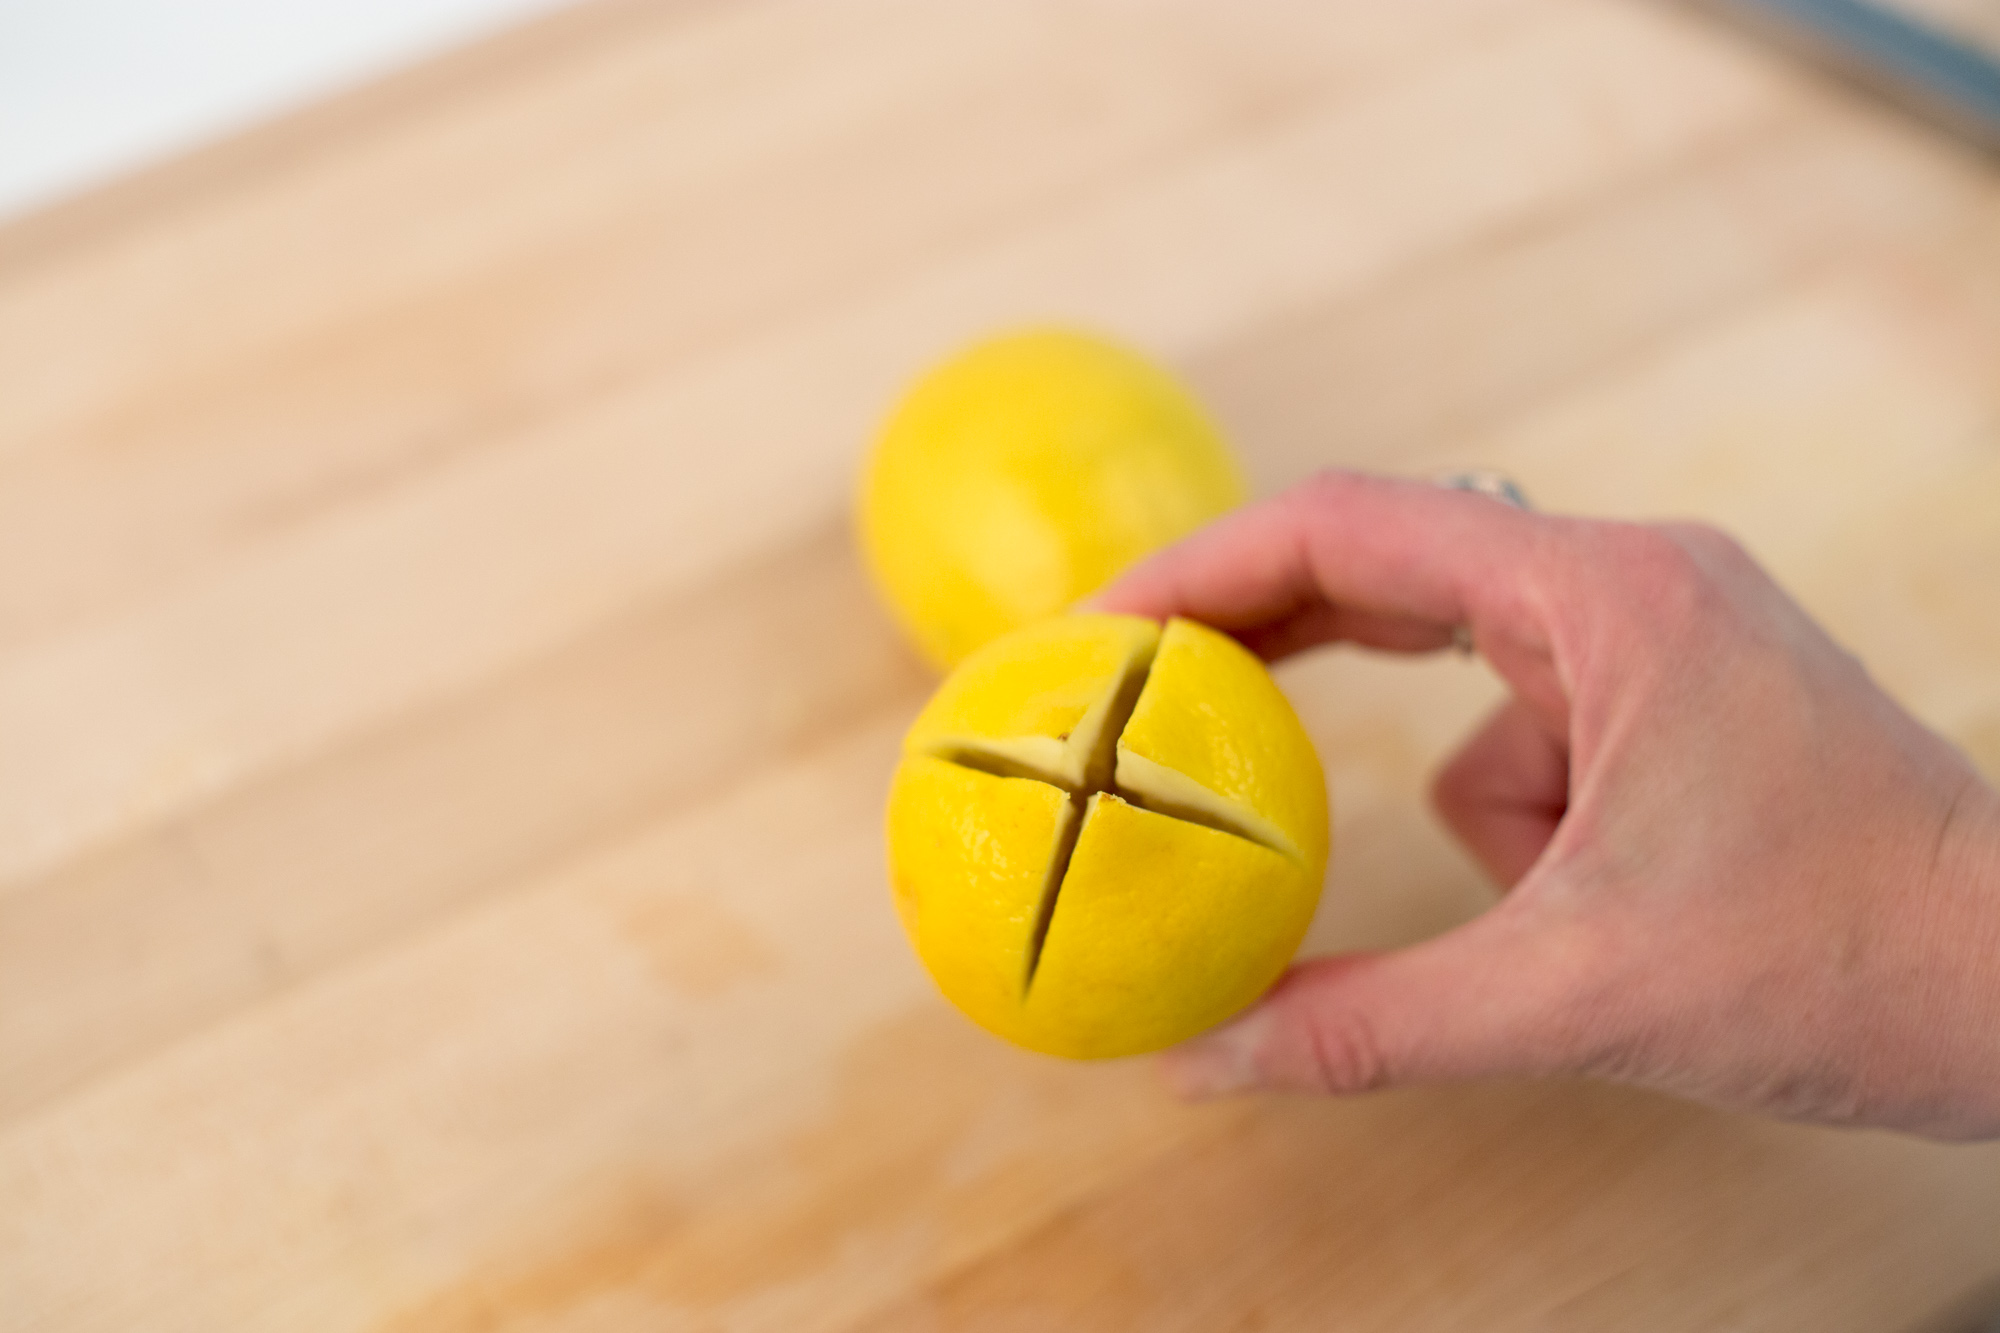
Step 2. Cut
Slice a slit across on the end of each lemon to form a cross on each side. Take care not to cut all the way through
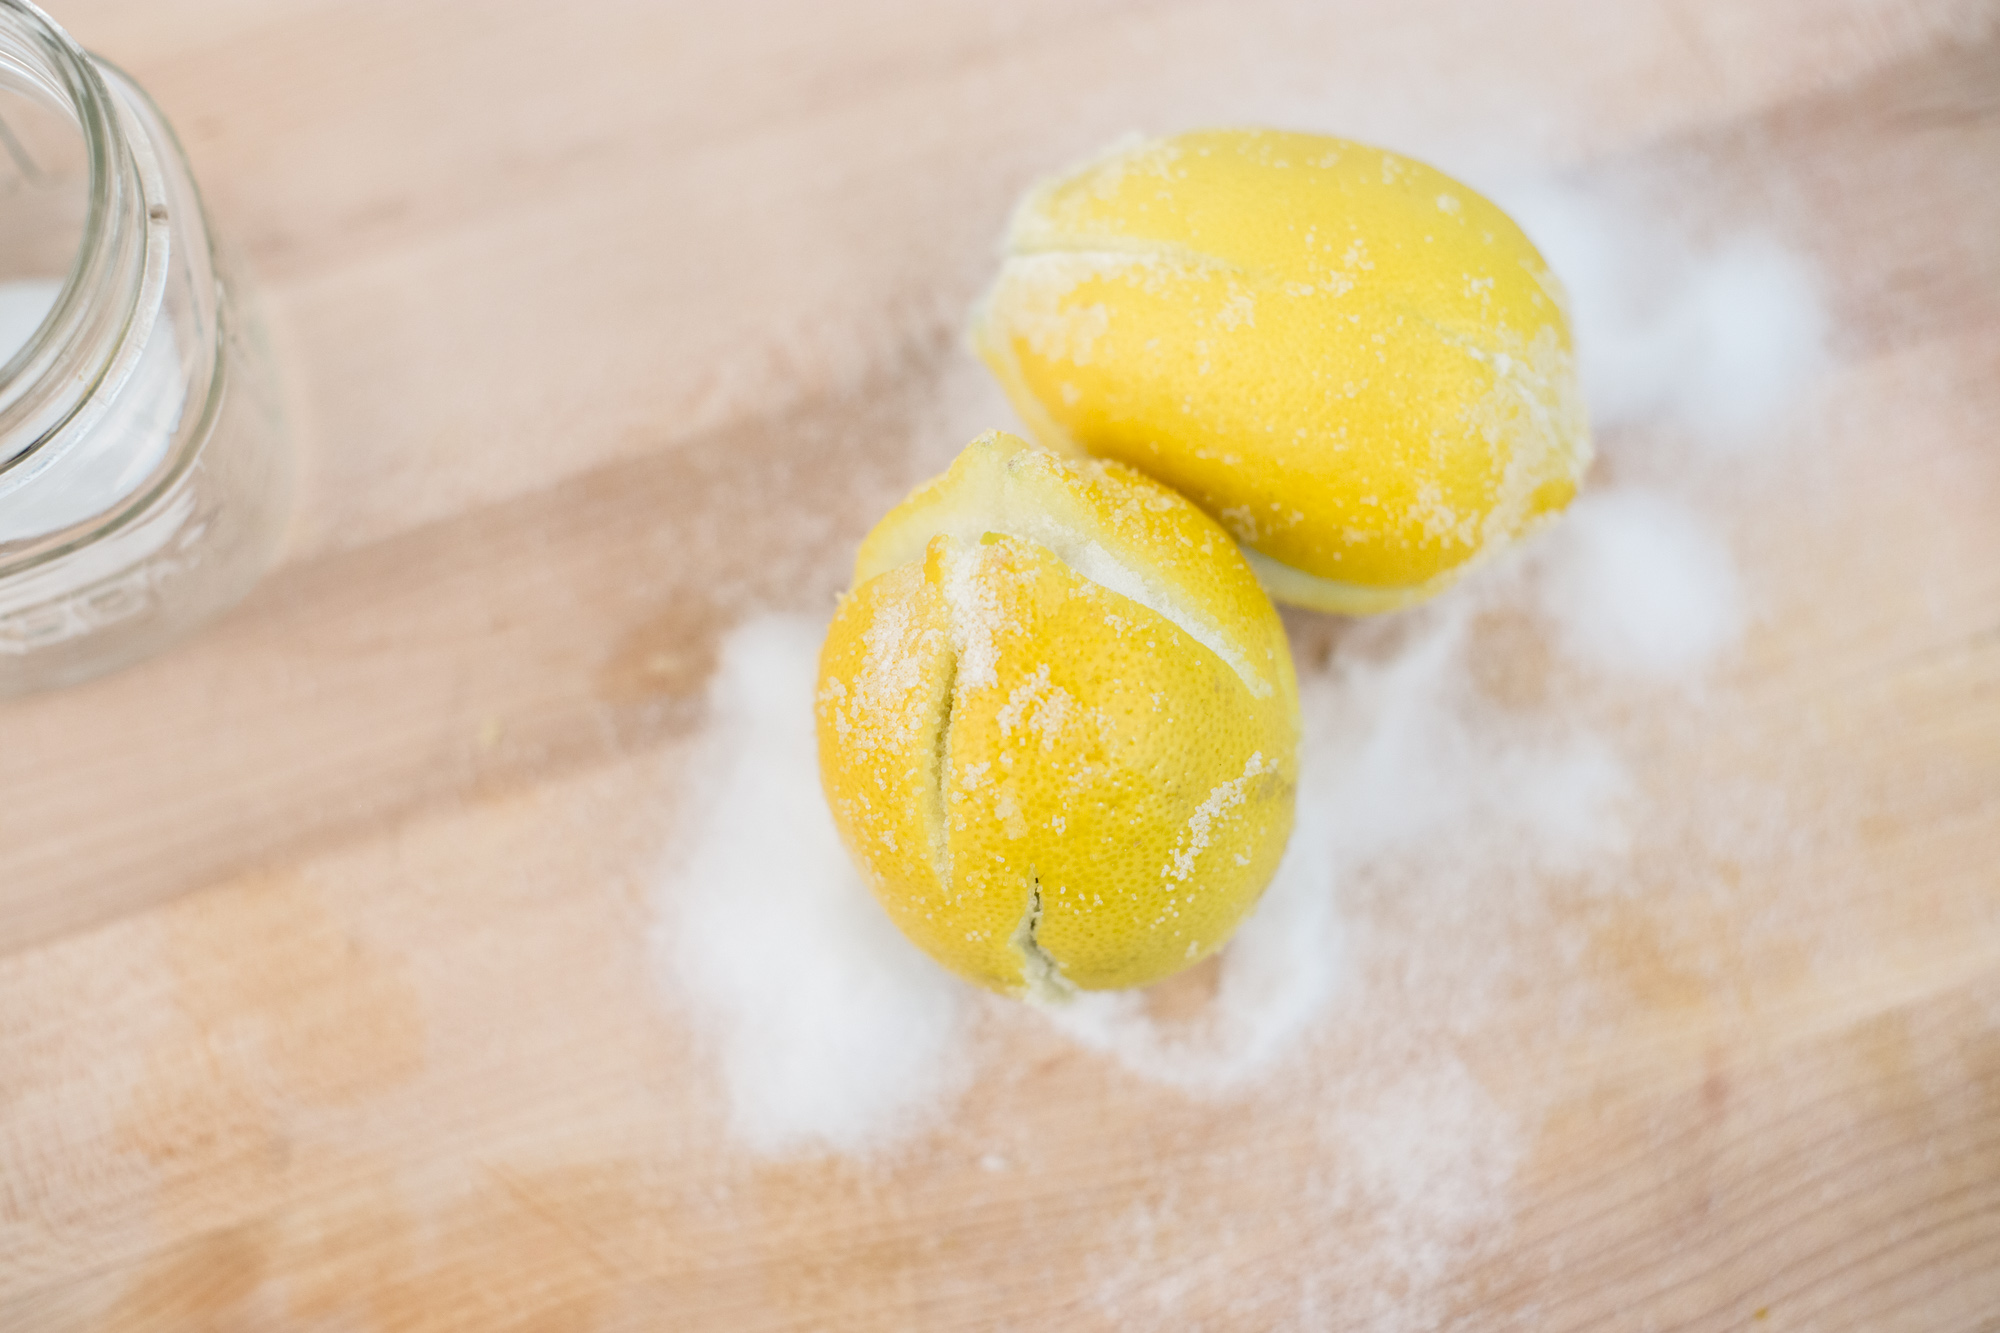
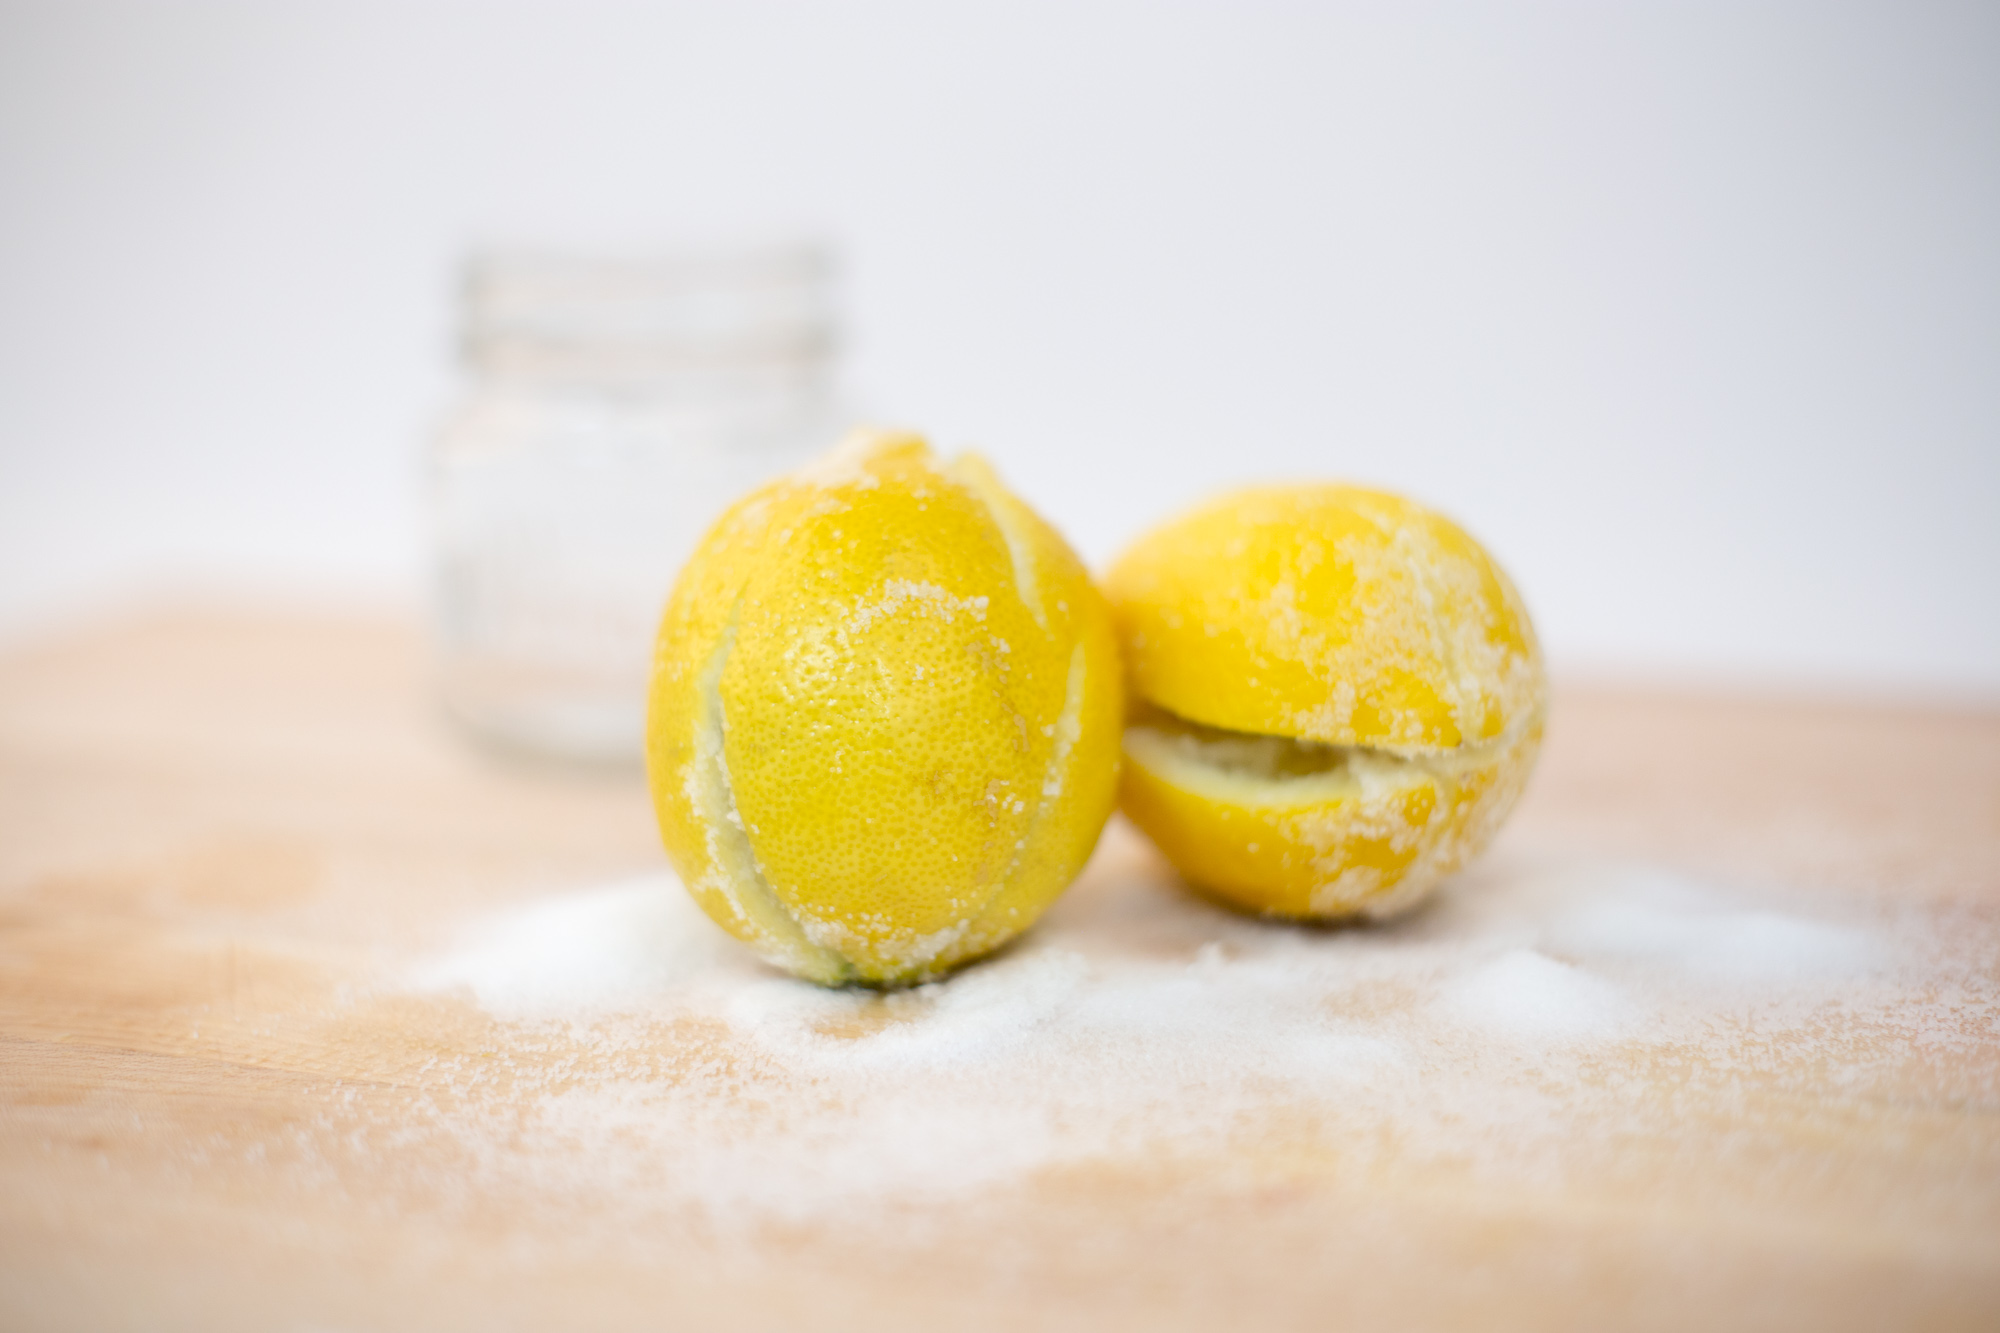
Step 3. Salt
Pour heaping amounts of salt into the slits of your lemons on both sides.
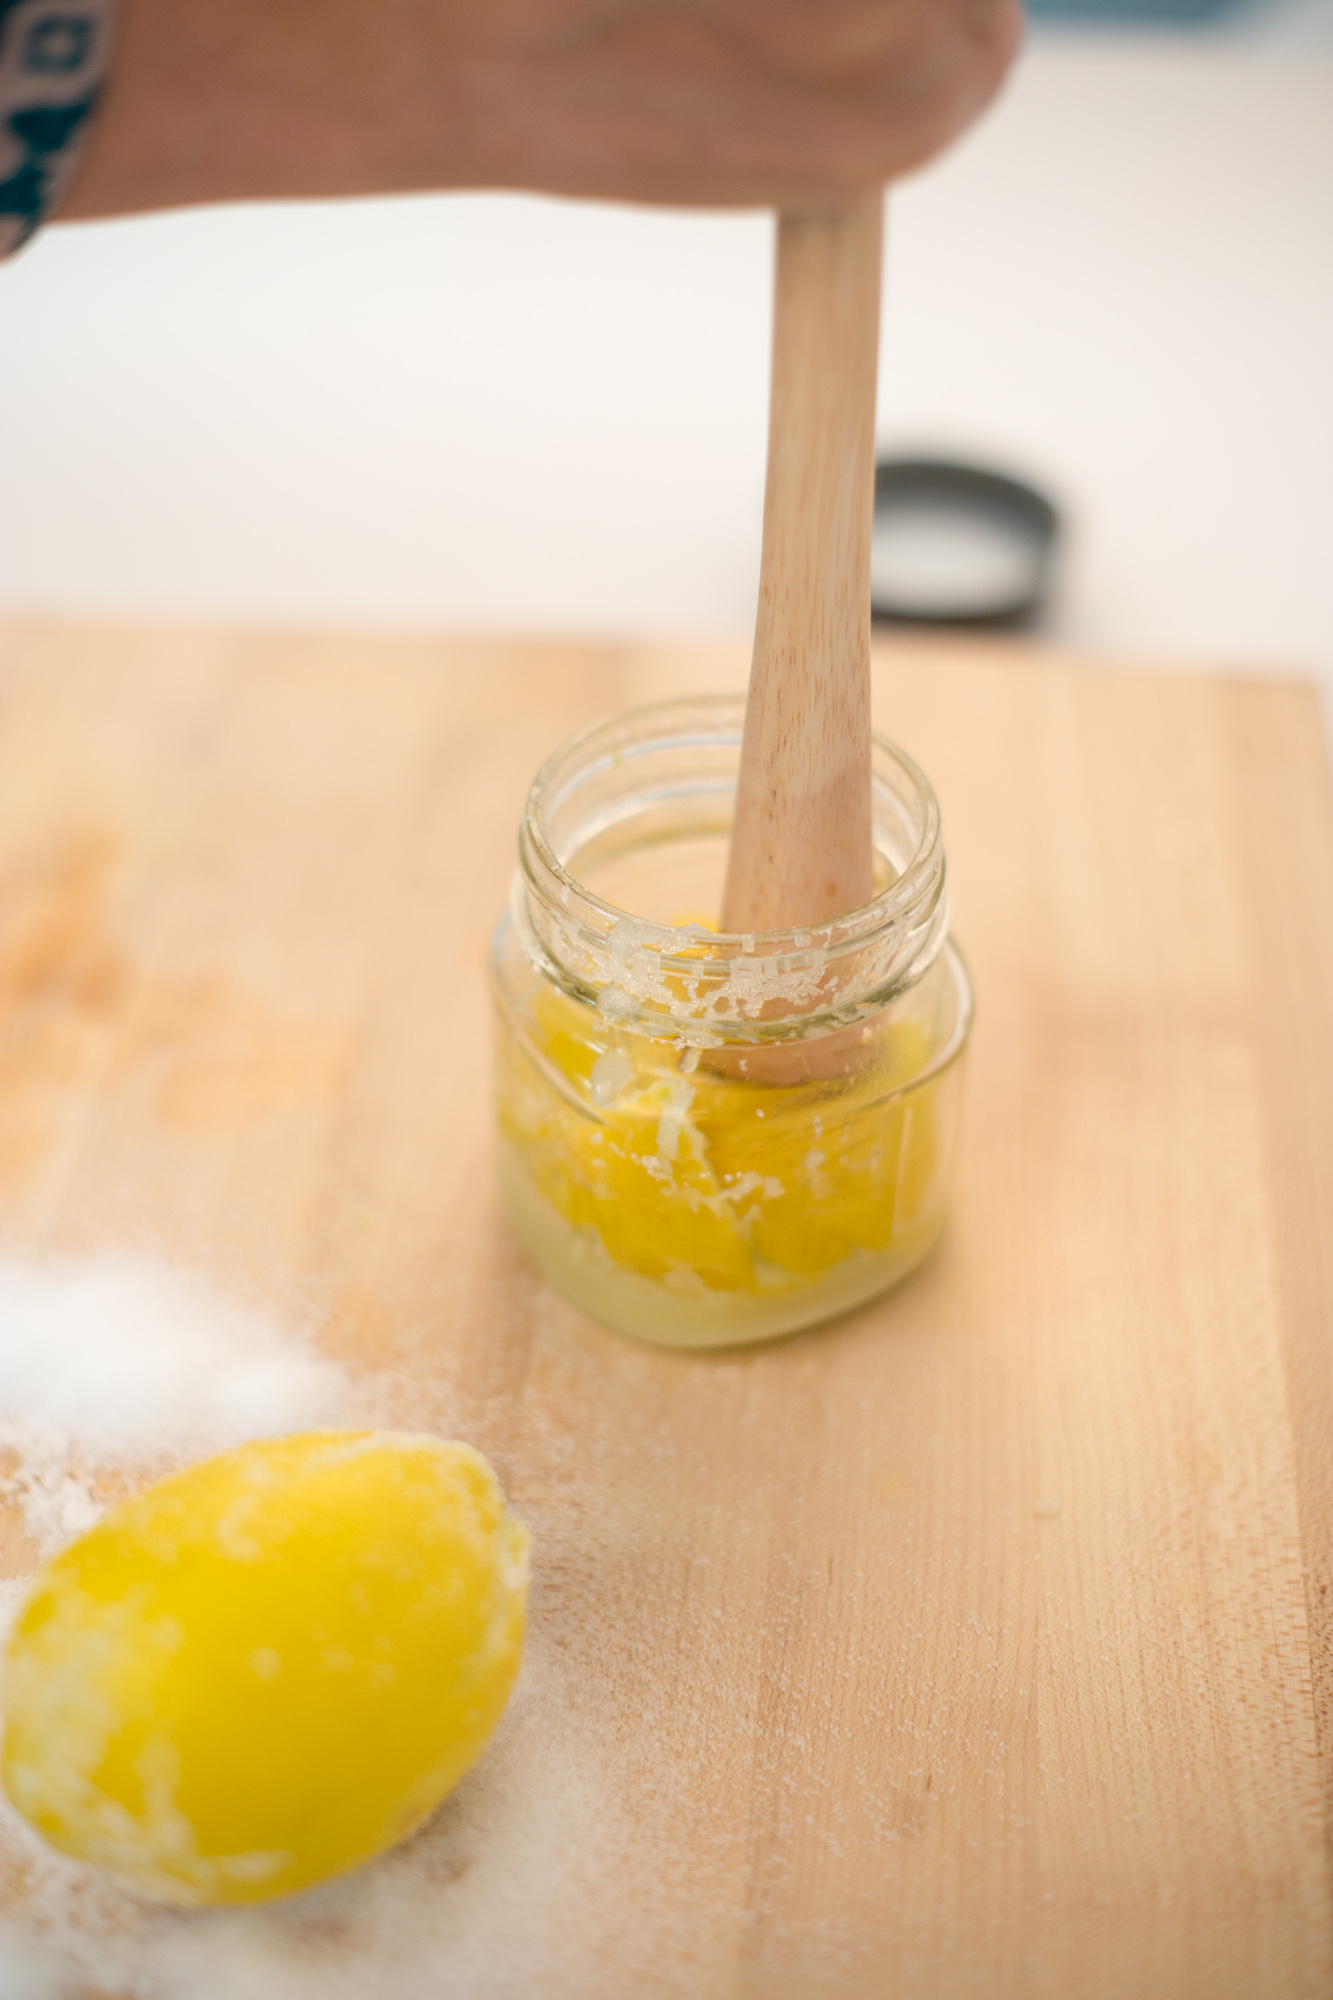
Step 4. Jar
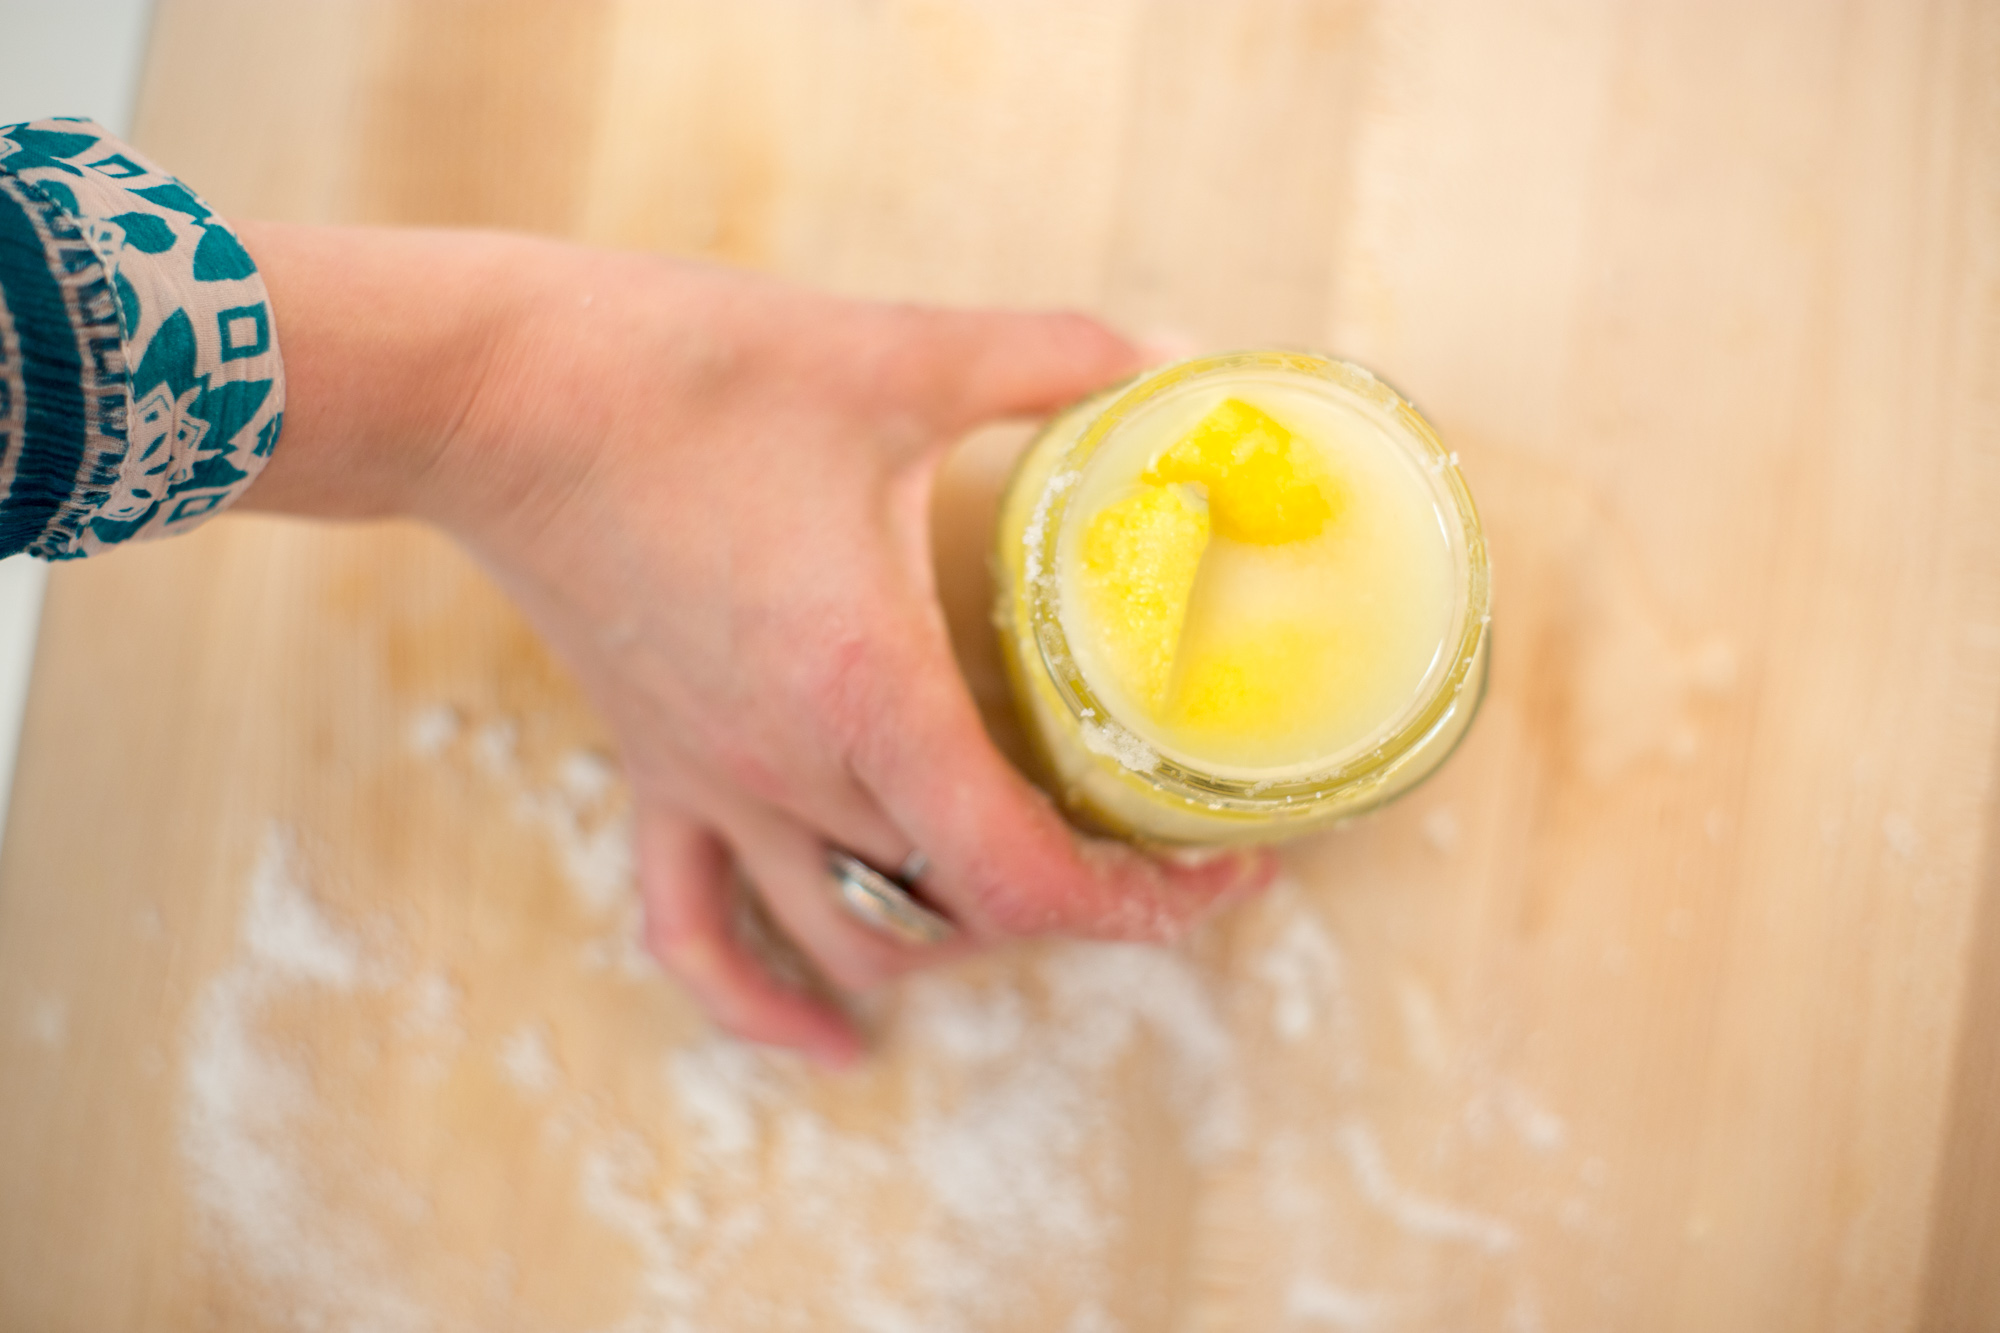
Place your salted lemons into your jar. I like to use a muddle to push the lemons into the jar and fit as many as I can. You want your jar to be filled, and by squeezing the lemons with the muddler you should have enough lemon juice to cover the tops of the lemon.

Step 5. Wait
That’s it! Over the course of the next few weeks, be sure to turn the jar every couple of days to keep the salt from settling too much.
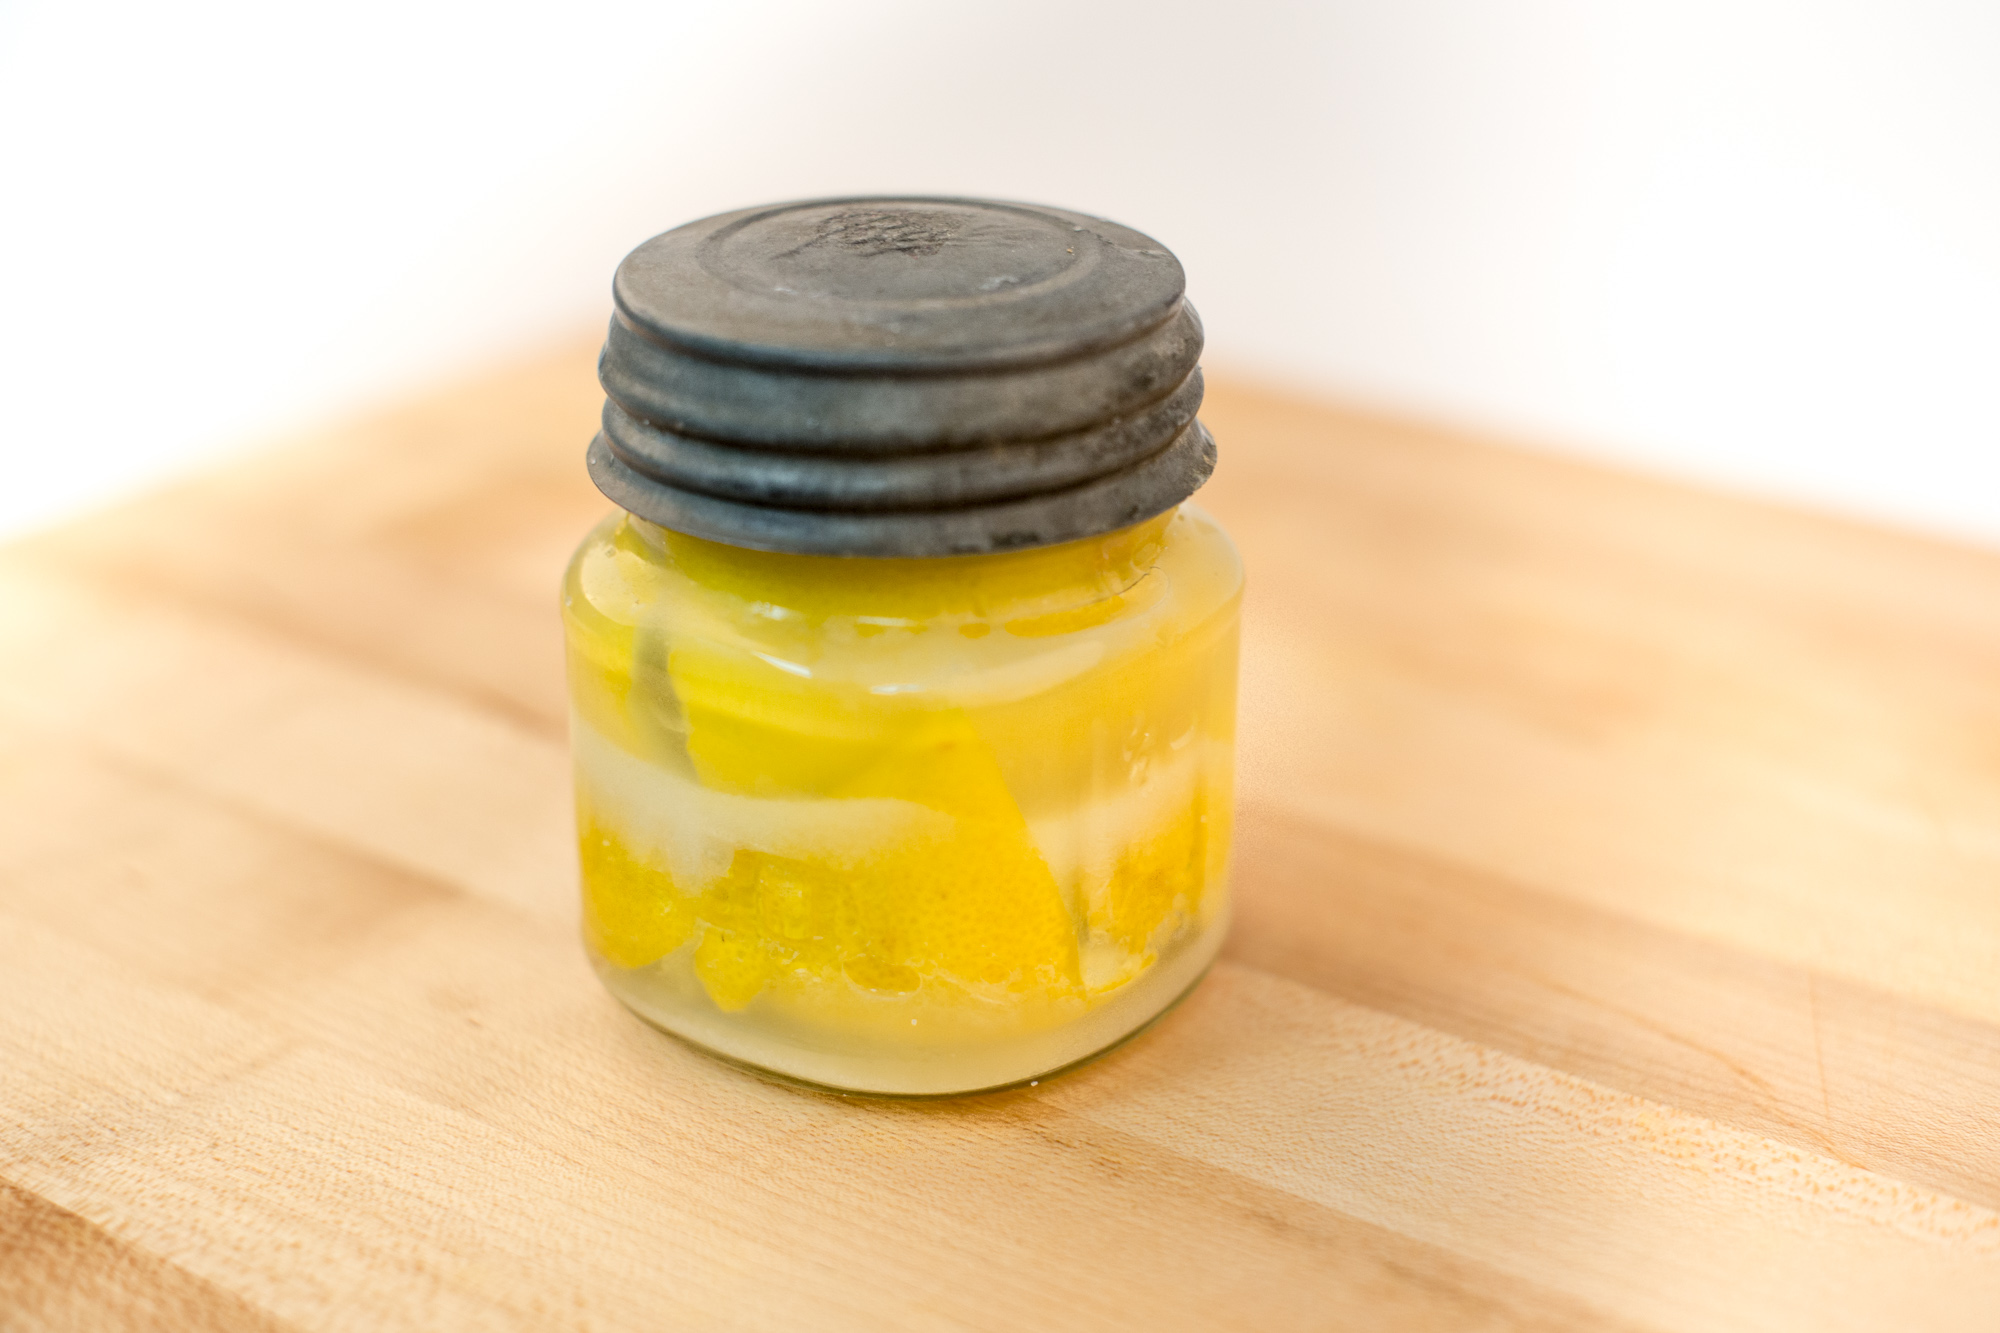
Once ready, simply take out a lemon and slice the desired amount (peel and all) – remember that a little goes a long way! I like to use preserved lemons in pasta, pesto and even in a quick salad dressing (add garlic, olive oil and any herbs you like). After opening your lemons store them in the fridge. Enjoy!